
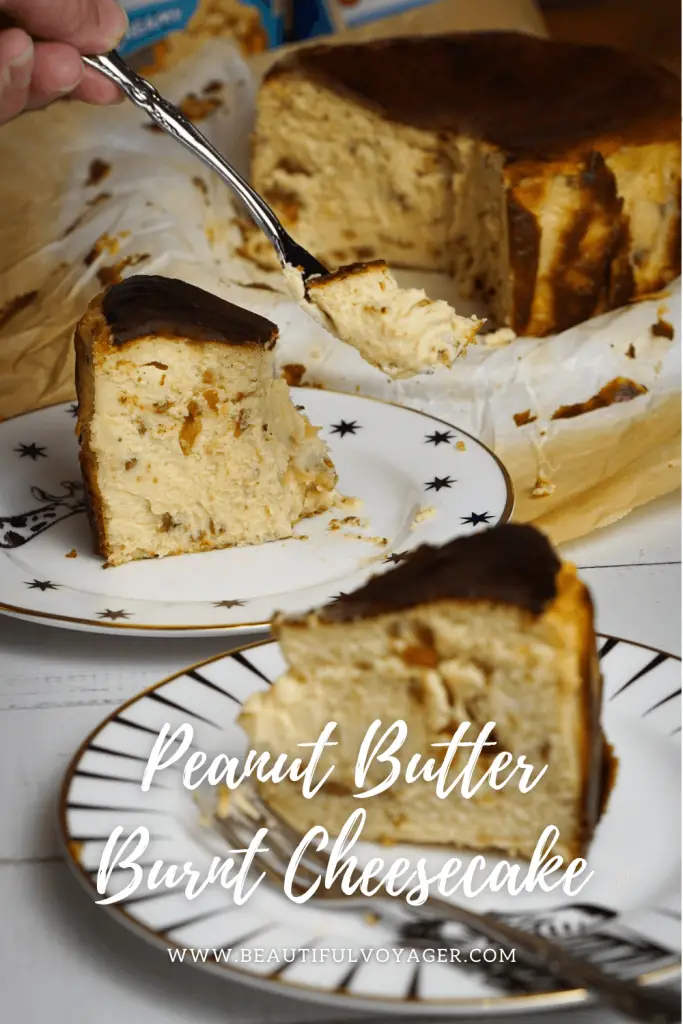
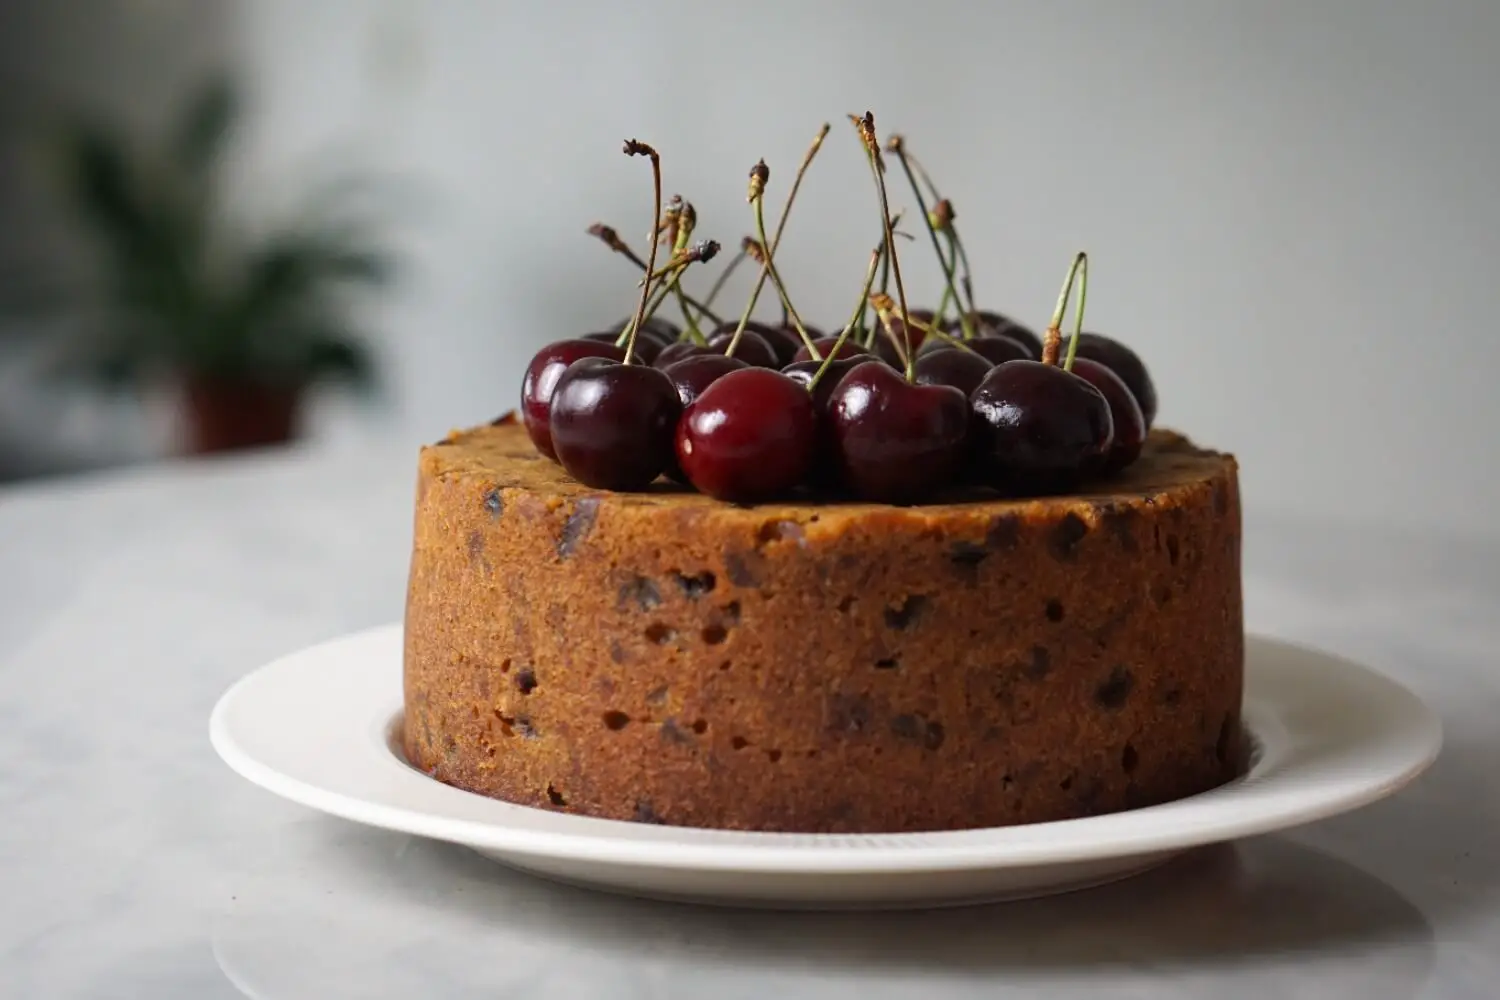
In this collaboration with Skippy Peanut Butter, I couldn’t help but to make a Peanut Butter Basque Burnt Cheesecake. The basque cheesecake may look like a rustic, burnt piece of cake, it’s actually really easy to make and can easily be combined with different flavours, whether it’s fruity, floral or nutty. In fact, I’ve made quite a few different flavours of it. Check out my original version of the Basque Burnt Cheesecake, the Lychee Rose Burnt Cheesecake and the duo-layer dark chocolate Basque Burnt Cheesecake.
The famous Basque Burnt Cheesecake was create some 30 years ago in a restaurant in San Sebastian named La Viña, located in the Basque region of Spain. That’s why it gets its name from. However it’s not until 2018 that this unassuming dessert actually became famous.
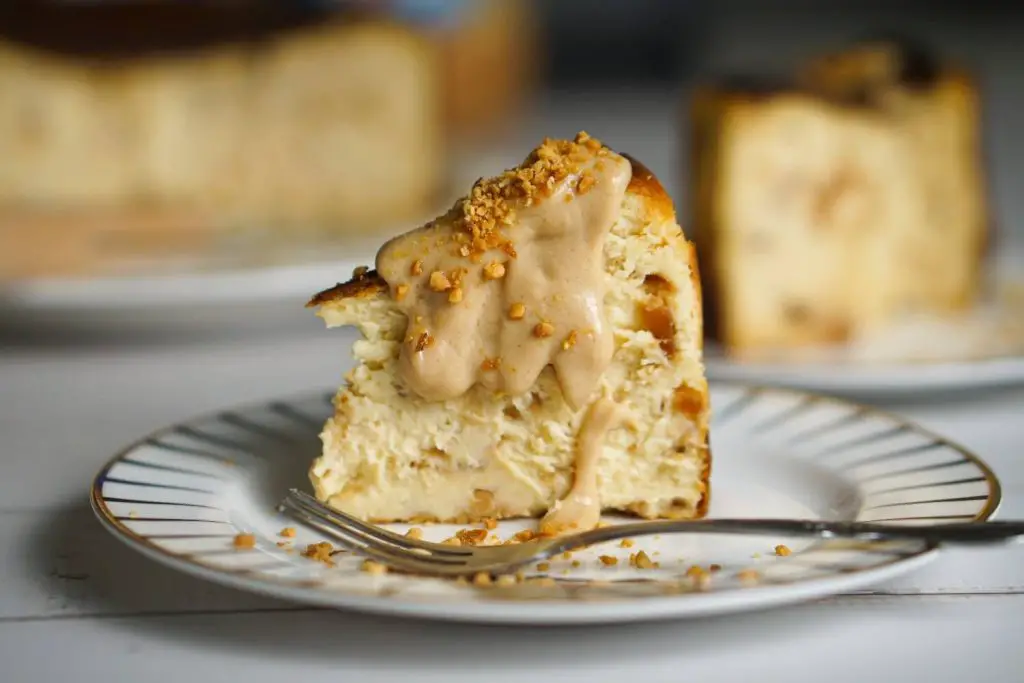
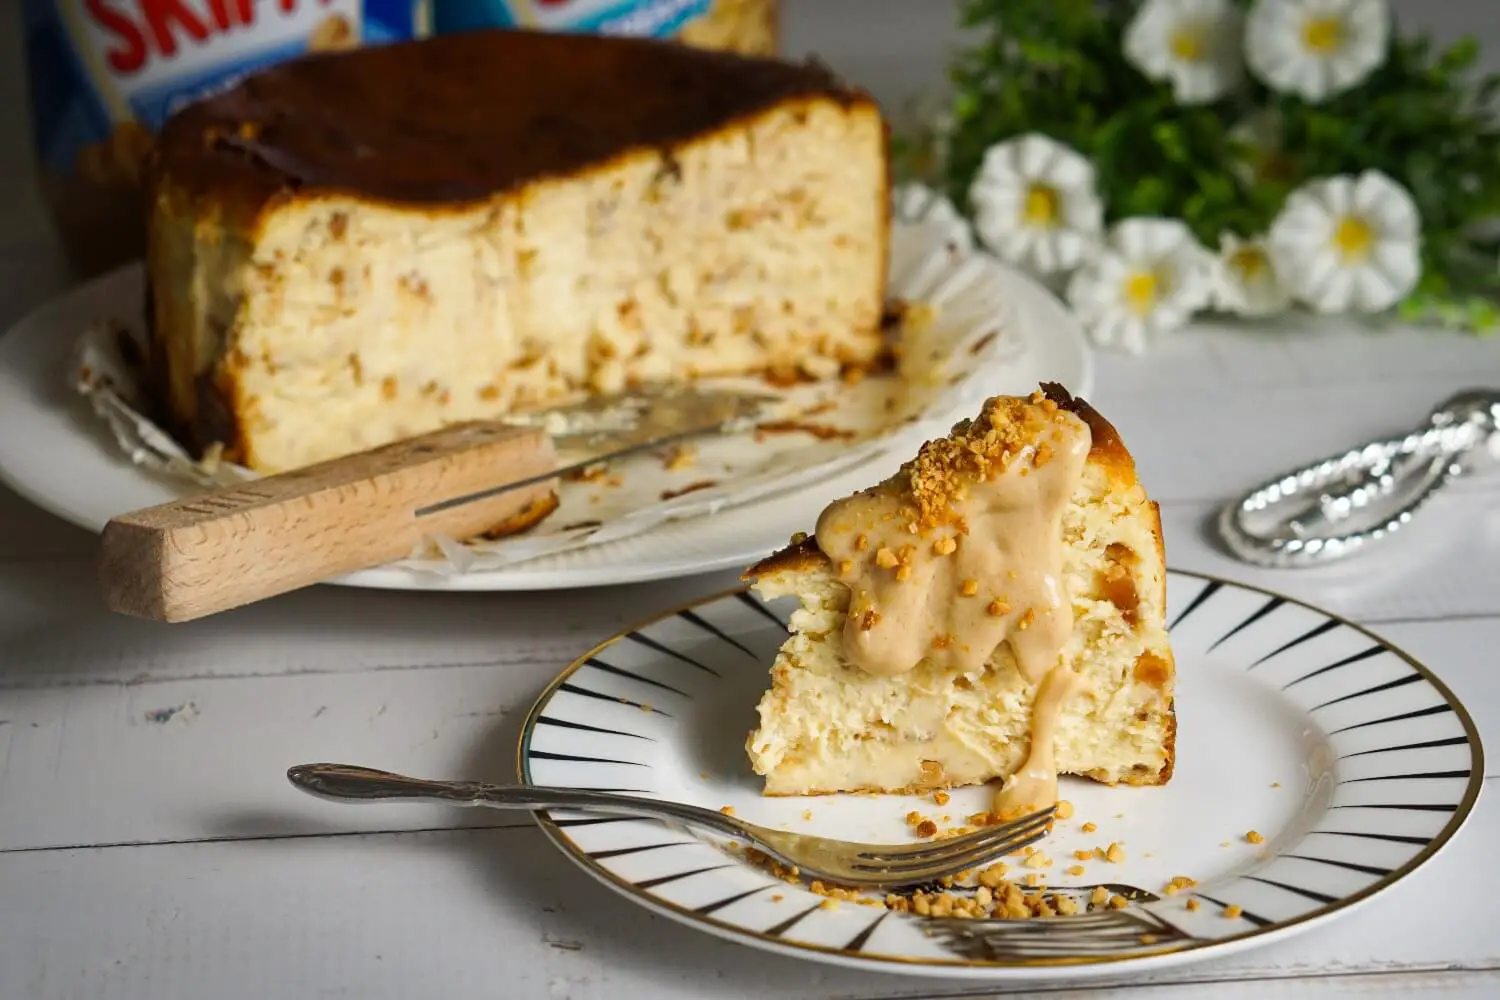
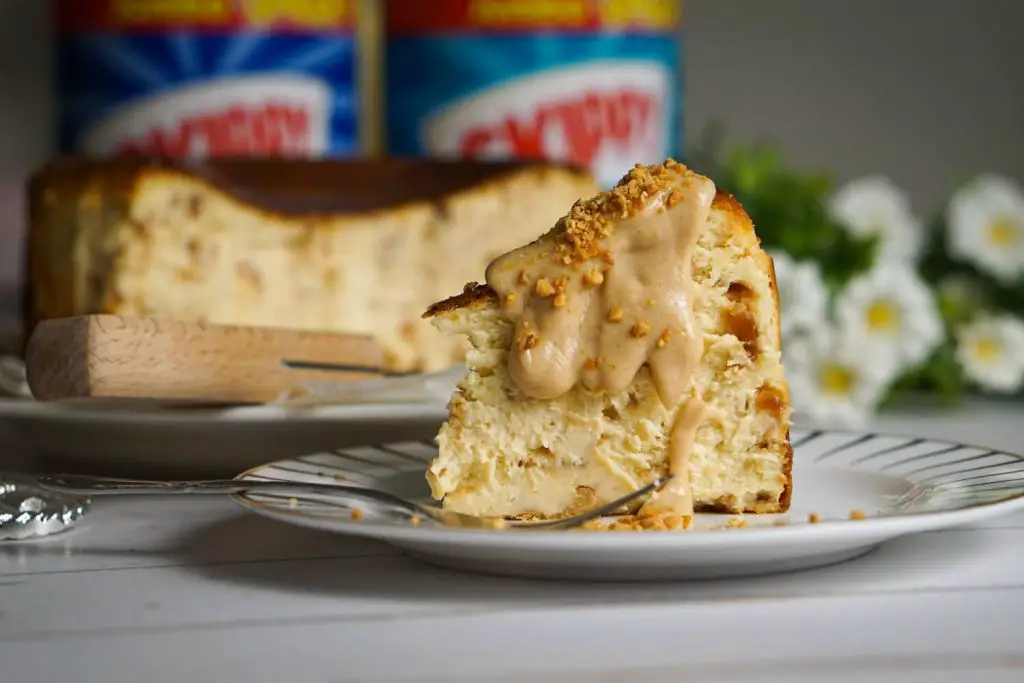
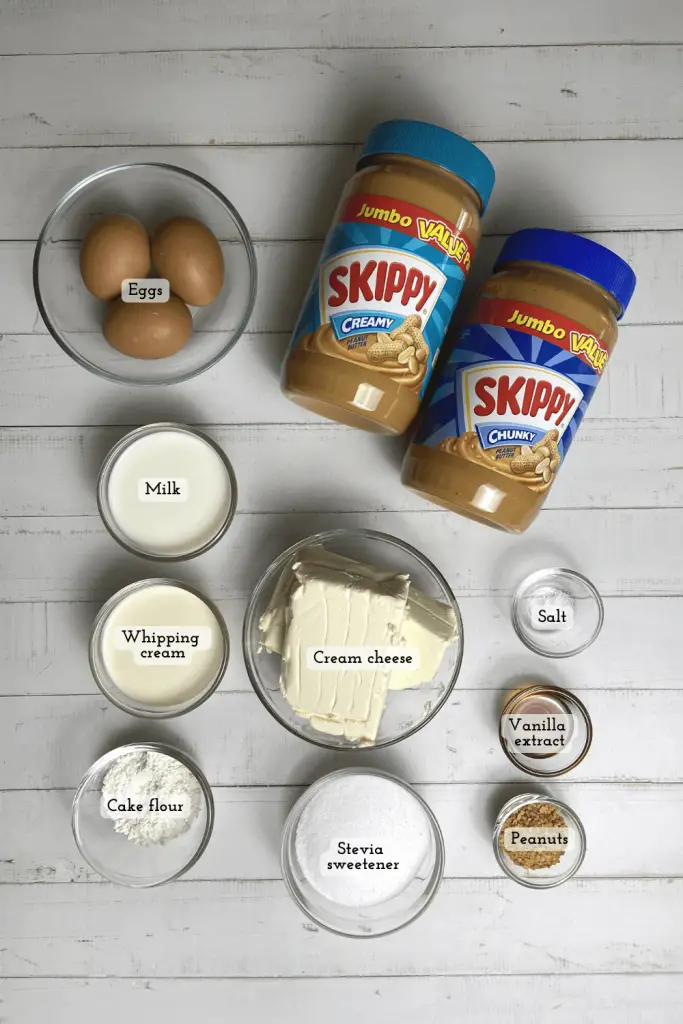
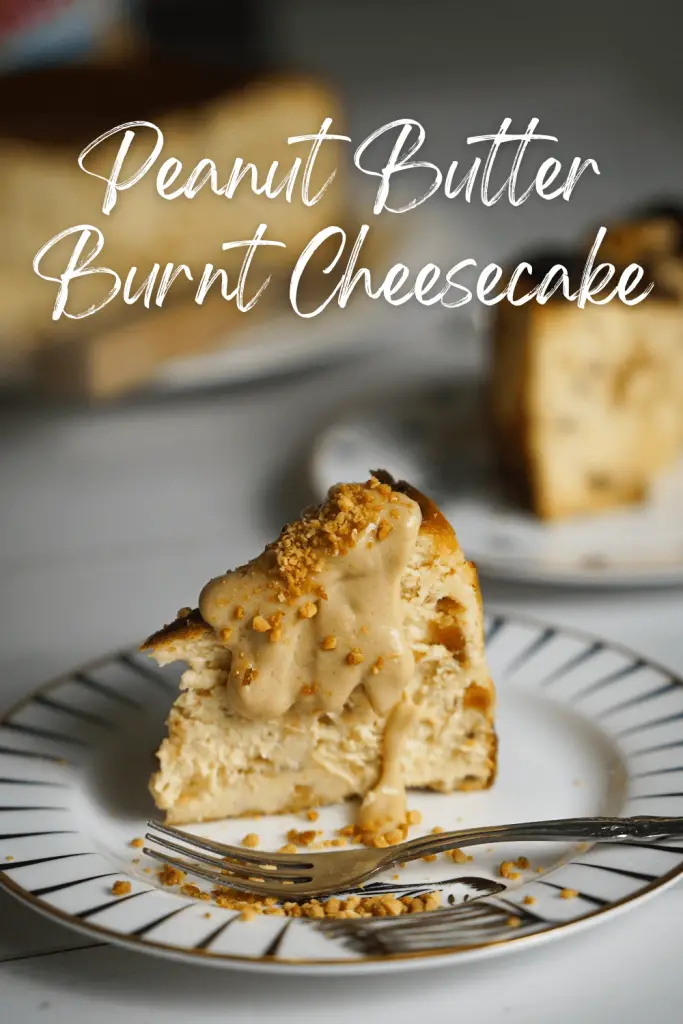
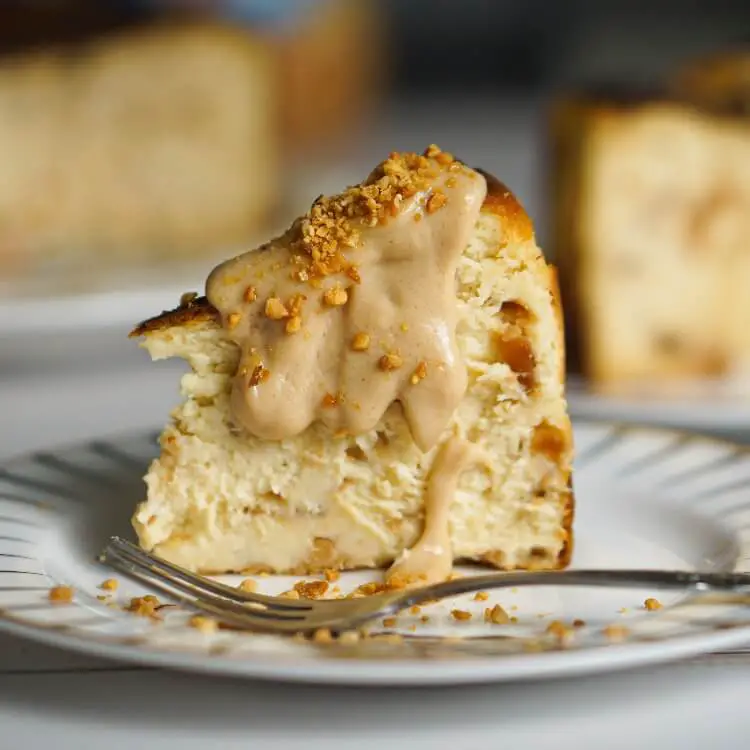
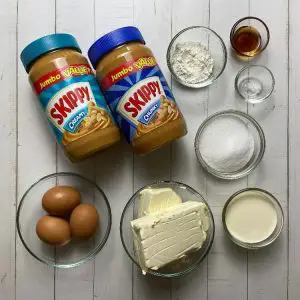
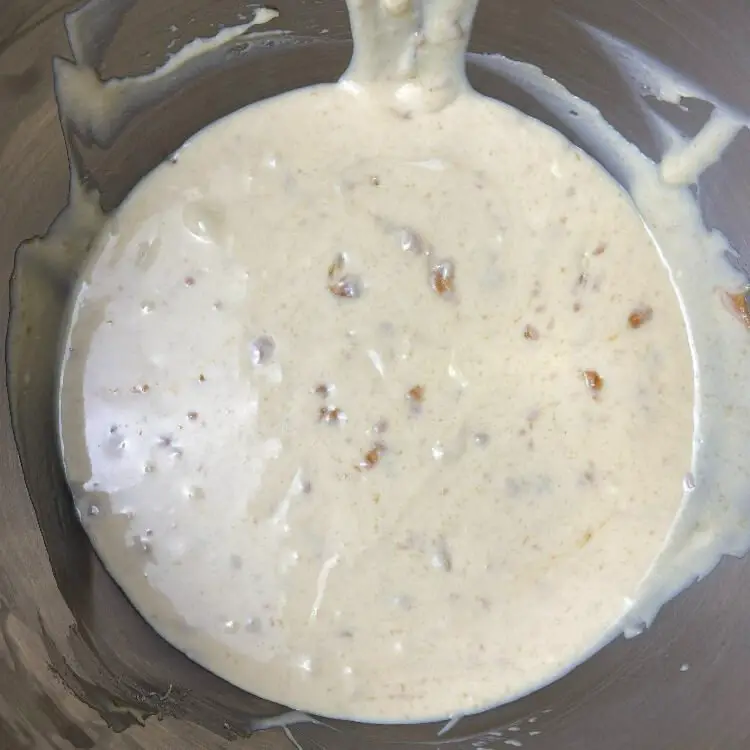
In this recipe, I made full use of both the crunchy peanut butter and the creamy peanut butter. A good amount of crunchy peanut butter was added to the cake batter for baking, OMG, the nutty aroma from the peanut butter filled my whole kitchen even when I was mixing up the batter. The creamy peanut butter was used to make into a glaze, drizzled over the Peanut Butter Basque Burnt Cheesecake, then sprinkled with some crushed peanuts. The cheesecake is already very yummy, eaten on its own, but the glaze and crushed peanuts brought it to another level.
Ok, enough of chest-beating self-praises of my Peanut Butter Basque Burnt Cheesecake, here are a few things to take note of when making the cheesecake:
- I used an 8 inch round cake pan in this recipe. I have used cake pans that are 6 inch in diameter and 3 inch in depth (round cake pan), as well as 7 inch in diameter and 2 inch in depth (heart-shaped cake pan), 6 inch might be a bit too small as the cake might overflow.
- Bring the chilled whipping cream, cream cheese and eggs to room temperature at least 1-2 hours before making. Room temperature ingredients mix better together.
- I used cake flour in this recipe, as it yields a soften cake. I’ve also used plain flour and corn starch (or known as corn flour in Asia) before and they all work.
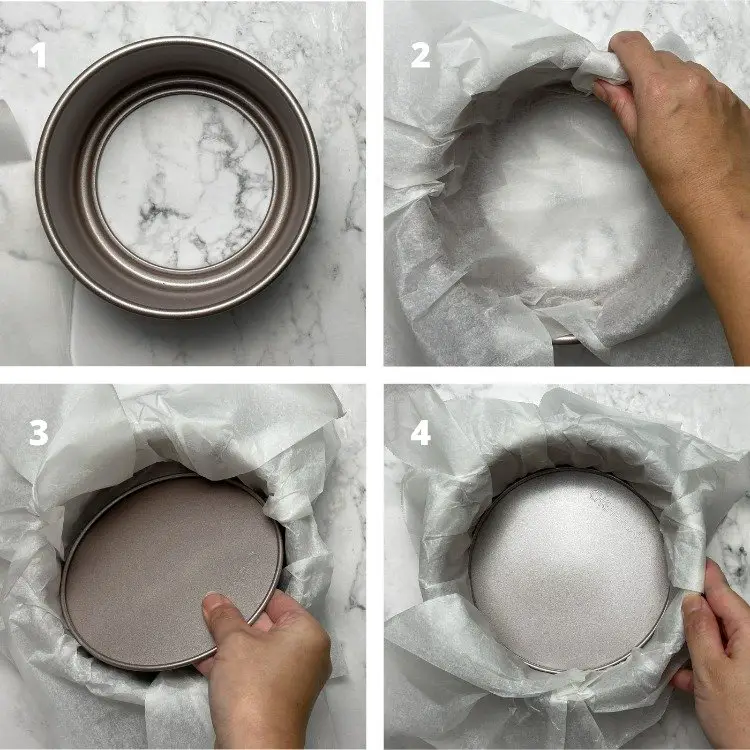
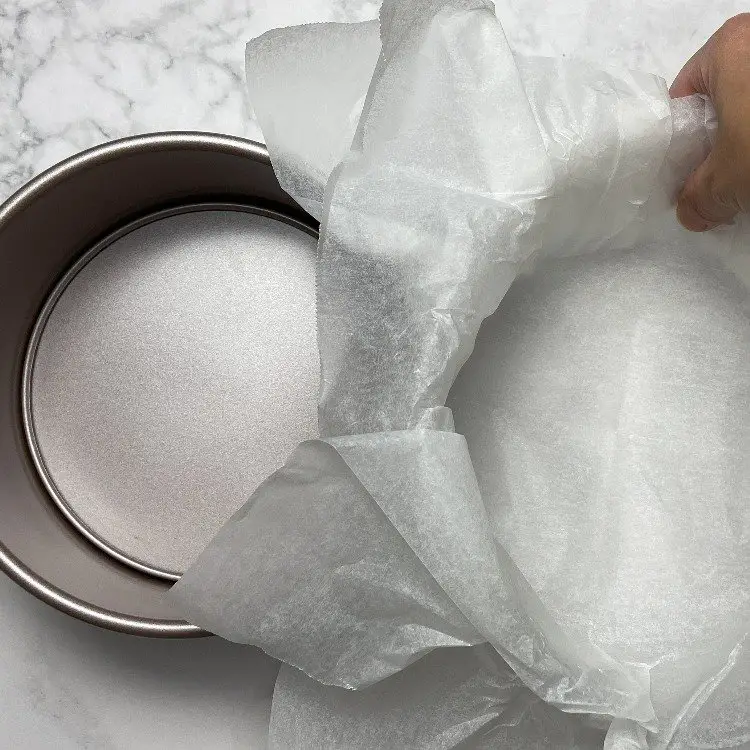
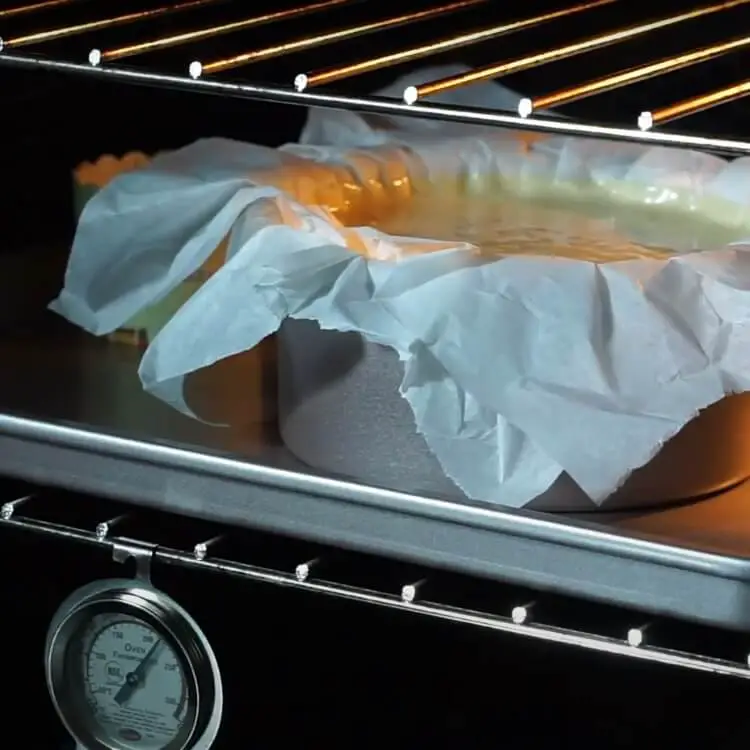
- I usually double-line the cake pan with 2 layers of parchment paper. My cake pans have removable base, thus I remove the base and set the parchment papers into the cake pan and then press down with the base again to form the shape in the parchment paper. Then place the parchment paper over the base of the cake pan before pouring the batter into the cake pan.
- To mix the batter, you can do it manually, or with a food mixer with whisk or paddle attachment. They all work well. My preference is to use the paddle attachment as it’s easier to scrape off the batter from the attachment. Make sure to scrape from the whisk or paddle attachment regularly to ensure ingredients are mixed well and to minimise lumps.
- Give a cheesecake a little jiggle after it’s taken out of the oven, if the cheesecake is jiggly in the center, that’s a good sign that the cheesecake will have the right softness and texture.
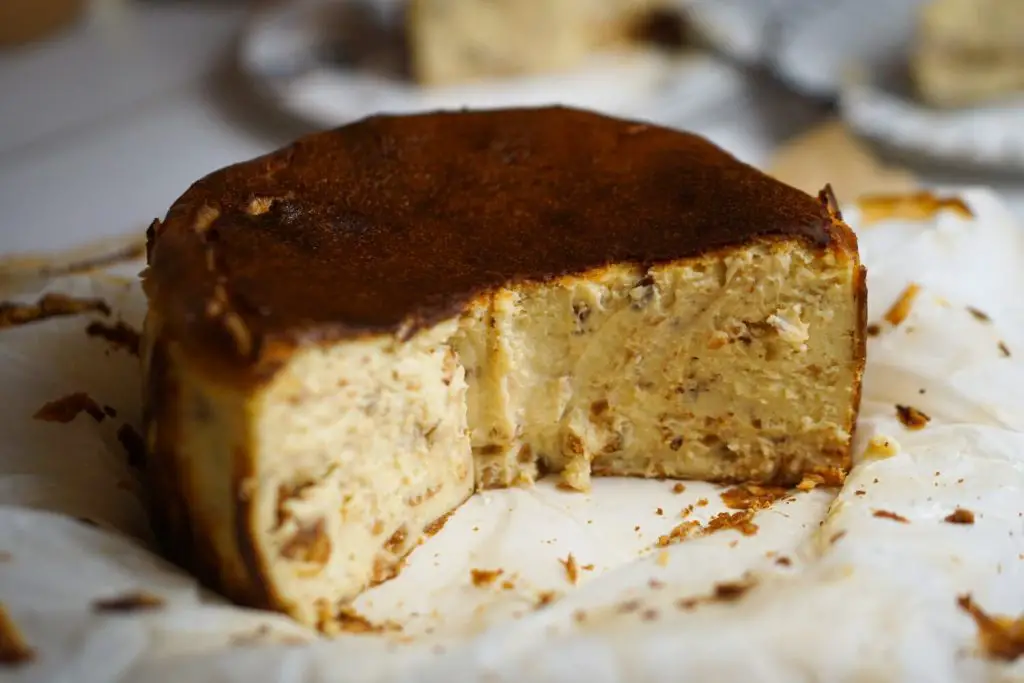
- As I used a convection oven, the baking time takes about 30-35 minutes. It takes about 20-25 minutes for the top to get ‘burnt’. For a conventional oven, baking time is about 45-50 minutes and takes about 35-40 minutes for the top to get ‘burnt’. Take note that the burnt caramelized top of the cheesecake should look very dark brown, not charcoal black.
- Give a cheesecake a little jiggle after it’s taken out of the oven, if the cheesecake is jiggly in the center, that’s a good sign that the cheesecake will have the right softness and texture. It’s normal that the top of the cheesecake cracks a little as it rises and collapses after baking.
- The Cheesecake is very soft and creamy after it’s cooled for a few hours. Once you chill it in the fridge, it’ll turn slightly hard. You can enjoy it as is, or take it out from the fridge and let it rest till almost room temperature before enjoying it.
- I stored the cheesecake, covered in the fridge chiller section for up to 3 days. If left on the countertop, it should be good until the next day.
Pin now, bake later
Watch how to bake Peanut Butter Basque Burnt Cheesecake on YouTube
Peanut Butter Basque Burnt Cheesecake
Ingredients
Cheesecake:
- 450 g cream cheese Philadelphia brand, at room temperature
- 100 g Stevia sweetener already reduced amount
- 3 large eggs about 50-53g per egg without shell, at room temperature
- 20 g cake flour plain flour is also ok
- 250 ml whipping cream at room temperature
- 1 tbsp vanilla extract
- 75 g crunchy peanut butter about 4-5 tbsp
- ⅛ tsp fine salt
Peanut butter glaze:
- 50 g peanut butter about 2-3 tbsp
- 100 ml milk I used lactose-free
- ⅛ tsp fine salt
Others:
- 2-3 tbsp crushed peanuts
Instructions
Preparation:
- Remove the cream cheese, eggs, whipping cream from the chiller to bring to room temperature at least one hour before the preparation.450 g cream cheese, 3 large eggs, 250 ml whipping cream
- Cut out 2 pieces of parchment paper. Using an 8-inch removable base cake pan, remove the base, place 2 pieces of parchment paper overlapped into the cake pan, then press down with the base, and press the parchment paper around the cake pan to form the shape.

- Before pouring the batter into the cake pan, remove the molded parchment papers and base, place the base back into the cake pan then place the parchment papers on top of the base and press the papers around the cake pan to fit nicely.

- Pre-heat oven at 220 degree celsius or 428 degree fahrenheit.

Make peanut butter glaze:
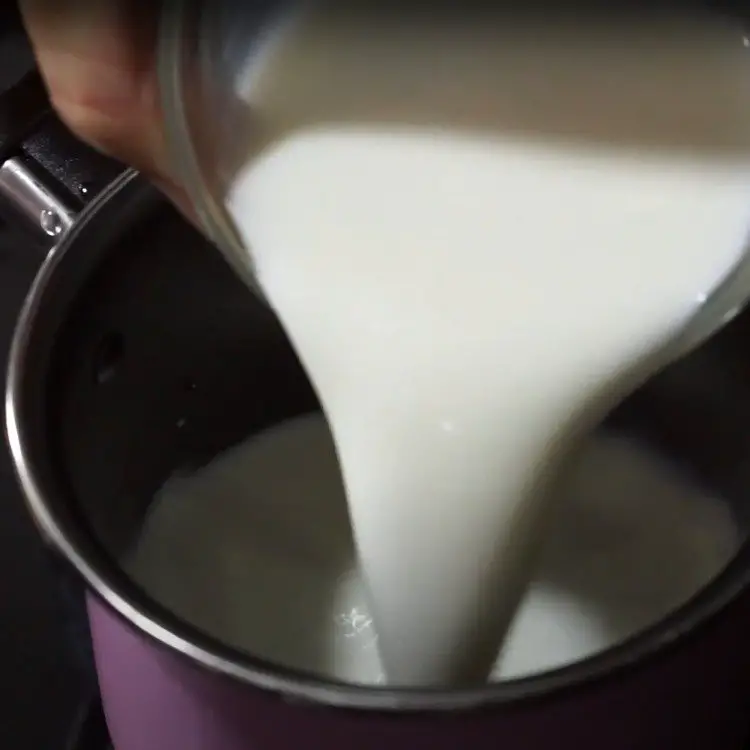
- In a small pot over medium low heat, warm 100ml milk (I used lactose-free) until just warm and not boiling.100 ml milk
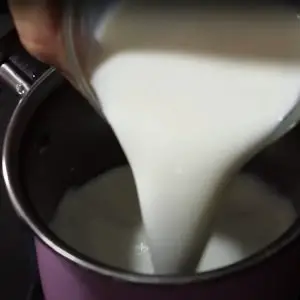
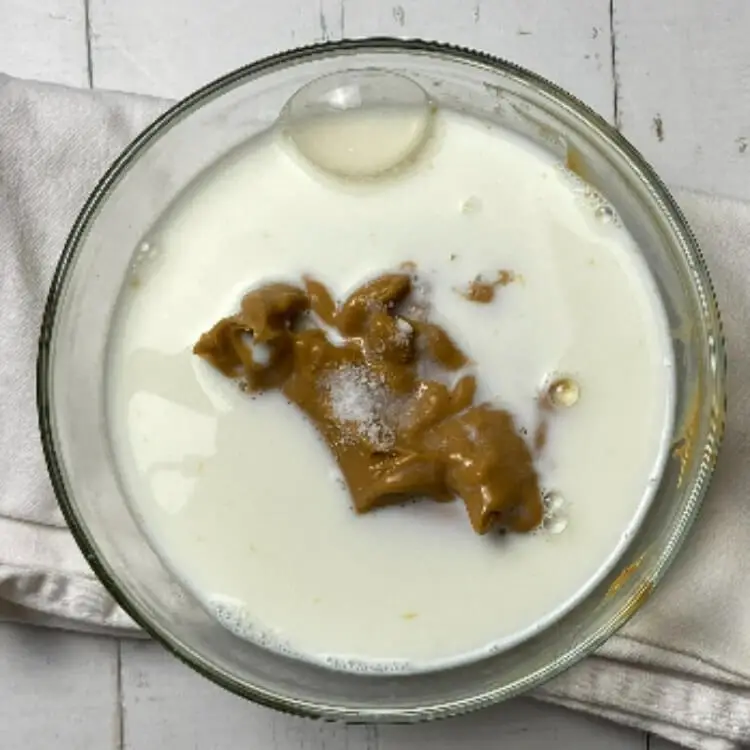
- Turn off heat. Add warm milk to 50g peanut butter and 1/8 tsp salt.50 g peanut butter, 1/8 tsp fine salt
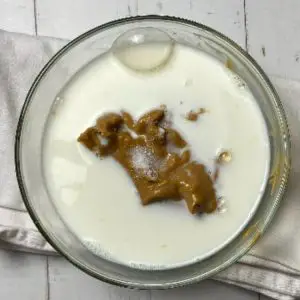
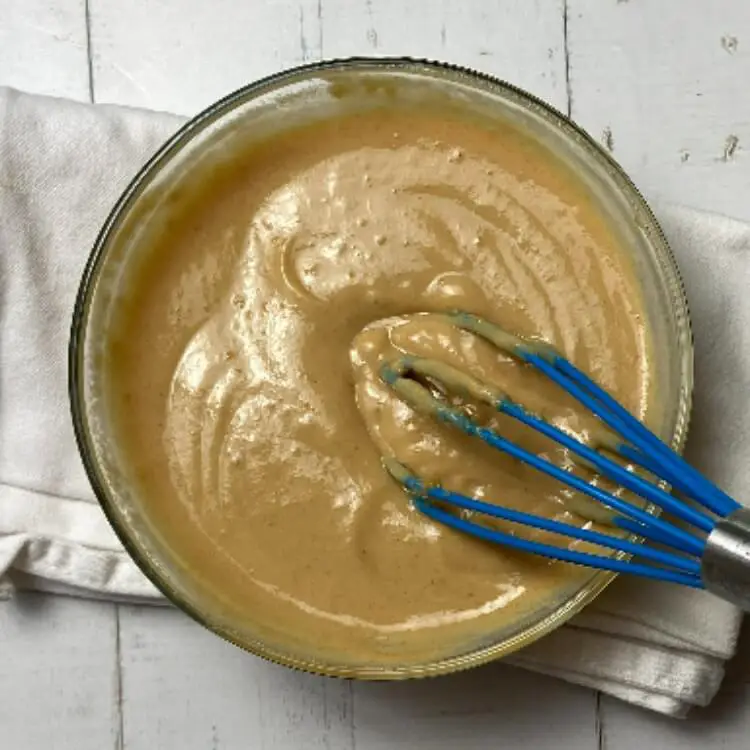
- Stir to mix well until a consistency glaze is achieved.

Make the cheesecake:
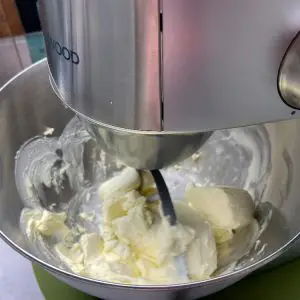
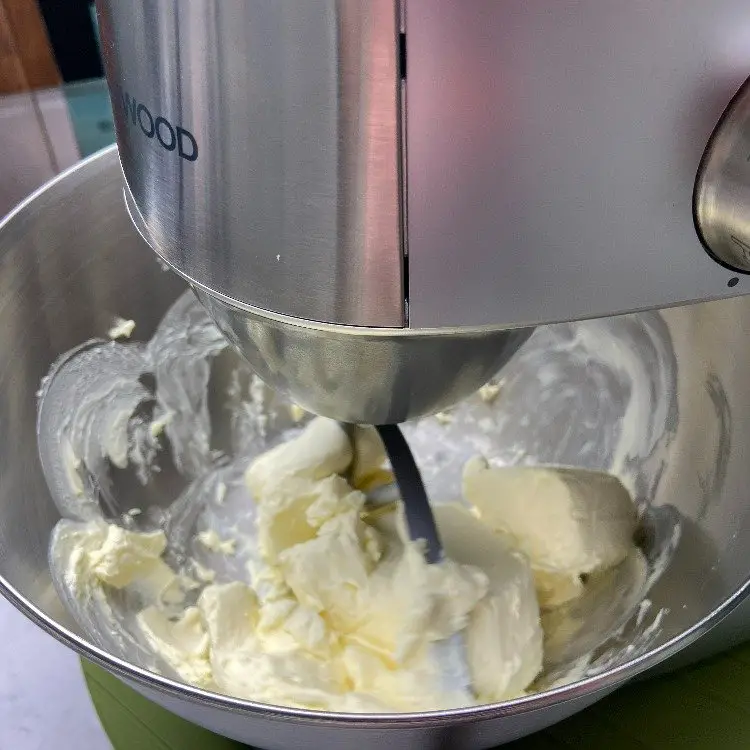
- Use a food mixer with whisk (or paddle works well too) attachment to cream 450g cream cheese until it's softened. Scrape off the cream cheese that might go within the whisk, if need be.450 g cream cheese
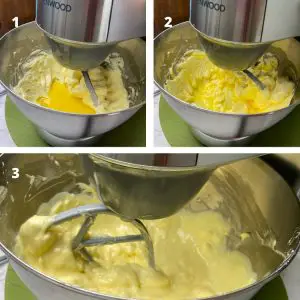
- Add 100g Stevia sweetener and mix well with the cream cheese completely until the sugar can no longer be seen and the mixture becomes fluffy and smooth. Scrape off the mixture around the mixing bowl and within the whisk, if need be.100 g Stevia sweetener

- Beat 3 eggs in a separate bowl. Add beaten eggs in 3 separate times to the mixture. Each time, mix the eggs well until the eggs are completely blended and becomes a smooth mixture. Ensure there are no lumps or visible signs of the eggs. Scrape the mixture around the mixing bowl to ensure even mixing.3 large eggs
- Sift 20g cake flour and 1/8 tsp salt and add into the mixture. Mix well in the food mixer to ensure there are no lumps or visible signs of the flour. Scrape the mixture around the mixing bowl to ensure even mixing.20 g cake flour, 1/8 tsp fine salt
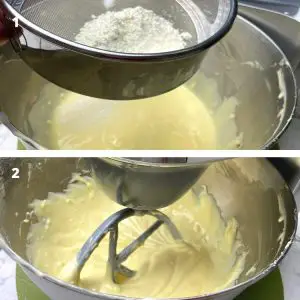
- Add 250ml whipping cream, 1 tbsp vanilla extract and 75g crunchy peanut butter mixture and mix well until the batter becomes consistent.250 ml whipping cream, 1 tbsp vanilla extract, 75 g crunchy peanut butter
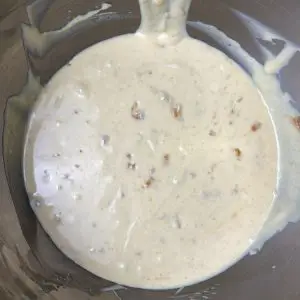
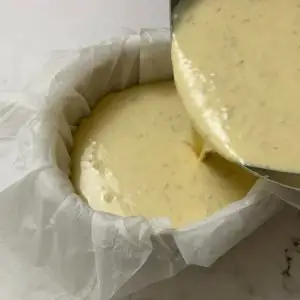
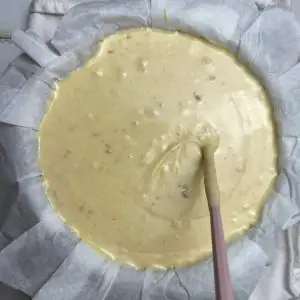
- Transfer the batter into the double-lined cake pan. Gently tap the cake pan 2-3 times on the table to remove any air pockets.
- Use a chopstick or toothpick and poke into the batter to remove any air pockets.
- Bake in pre-heat convection oven for about 30-35 minutes (conventional oven for about 45-50 minutes) at 220 degree celsius or 428 degree fahrenheit. Place the cake pan on a baking tray for easy removal from the oven. Note: if you are using a conventional oven, it will take about 35-40 minutes for the top to get ‘burnt’. With the fan, it takes about 20-25 minutes.

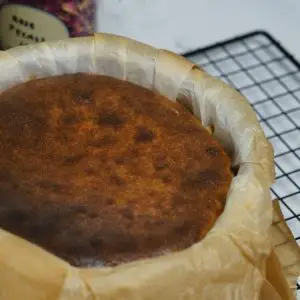
- Once baked, remove from oven and place on a cooling rack (cheesecake within the cake pan) and let it cool for a few hours (about 3 hours +/-). When it’s fresh from the oven, you can do the jiggle test, if it jiggles well, it’s a good sign the cheesecake is baked well.
- Once cooled, remove from cake pan. Drizzle some peanut butter glaze and sprinkle some crushed peanuts on the cheesecake before serving.Best served chilled. Chill in fridge and serve within 3 days.2-3 tbsp crushed peanuts


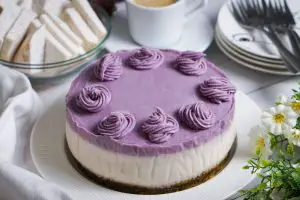 Taro Tofu Cake | No-bake, Dairy-Free, Gluten-Free, Refined Sugar-Free
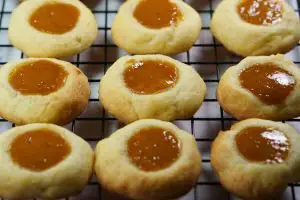 Kaya Jam Thumbprint Cookies


4 October 2022 at 1:47 amOh, I love peanut butter and I will surely try this unique cheese cake. Yummy 😋
5 October 2022 at 12:27 pmThank you 😀
1 November 2022 at 11:21 amSo yummy
2 November 2022 at 2:07 pmThanks Richard!